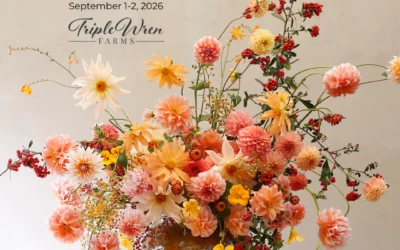
Are you planning an event and need a floral backdrop that is stunningly gorgeous but also transportable and sturdy? Then this floral archway “how-to” is for you!
We made this beauty for the sweetest couple’s wedding in July, 2023. It was such an honor to create the backdrop for their beautiful ceremony!
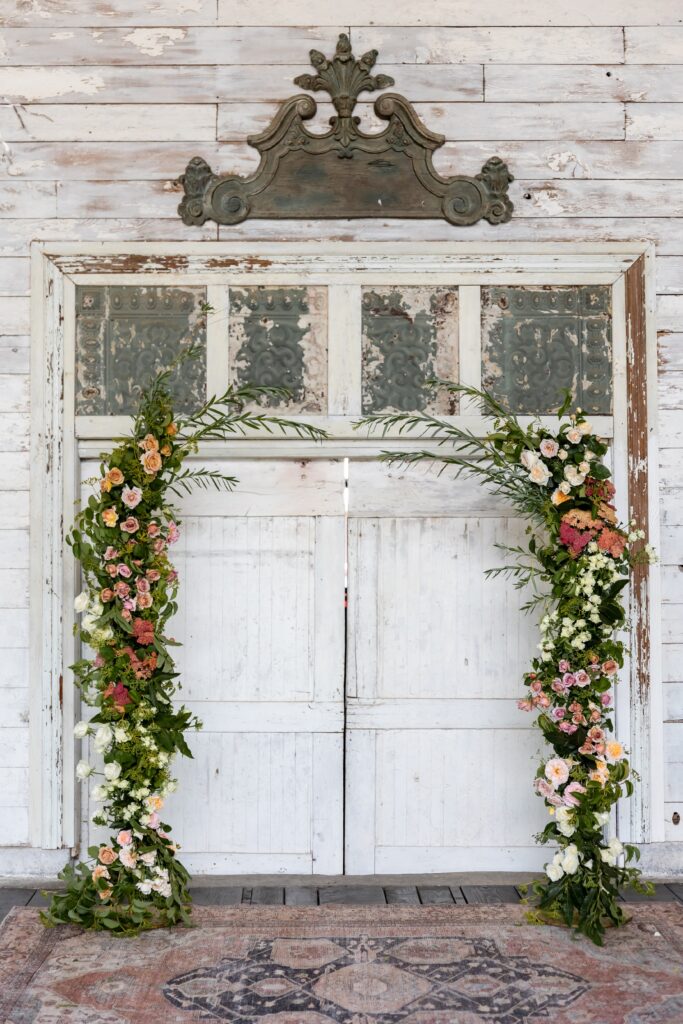
I started with the some handcrafted arbor posts as my supporting structure. A dear friend welded these out of scraps she found at our local Re-Store (a thrift shop for construction materials here in the PNW), and minus the top bar, they were the perfect portable foundation for this arbor.
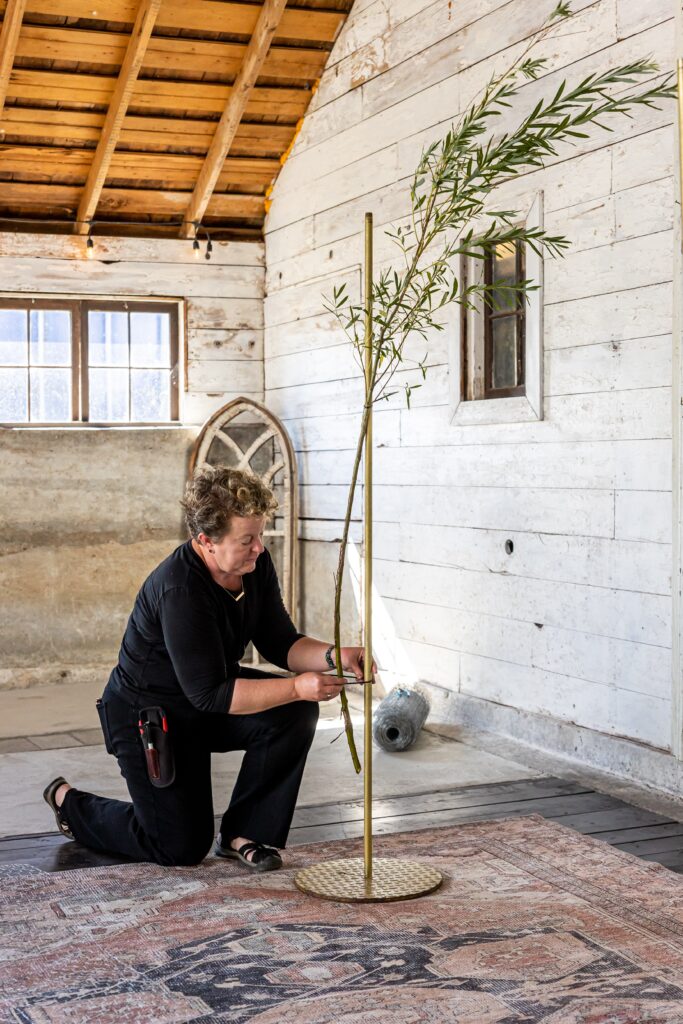
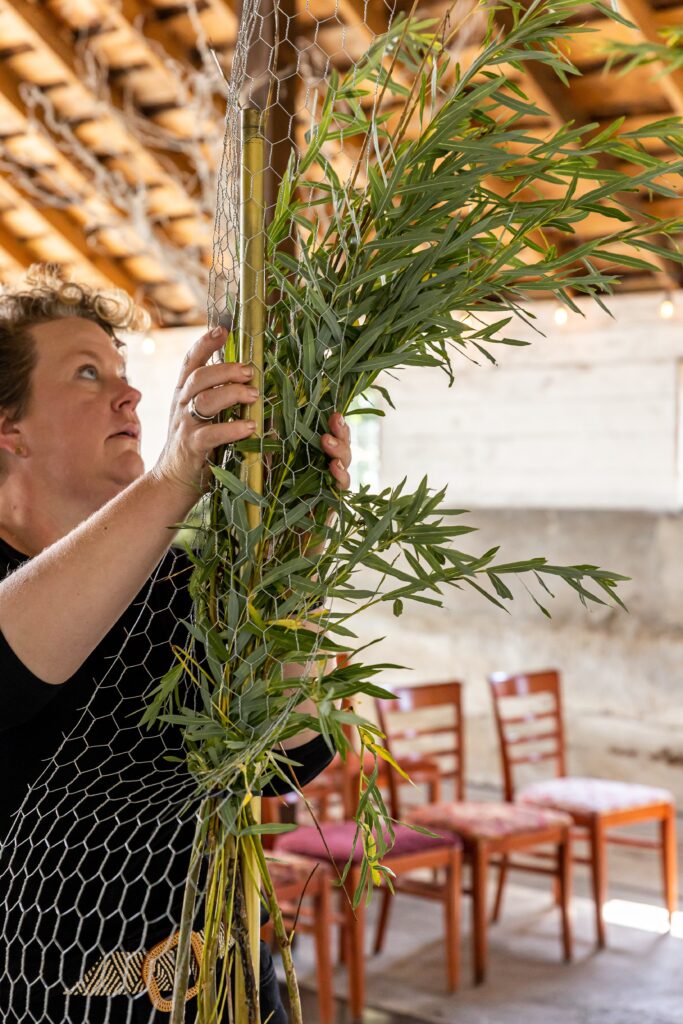
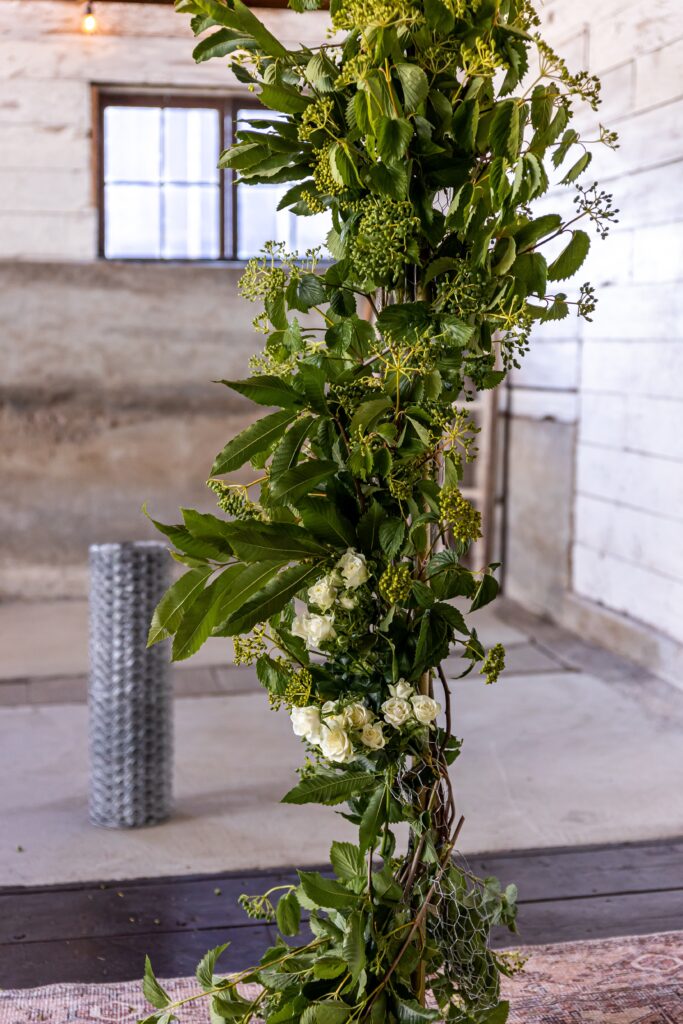
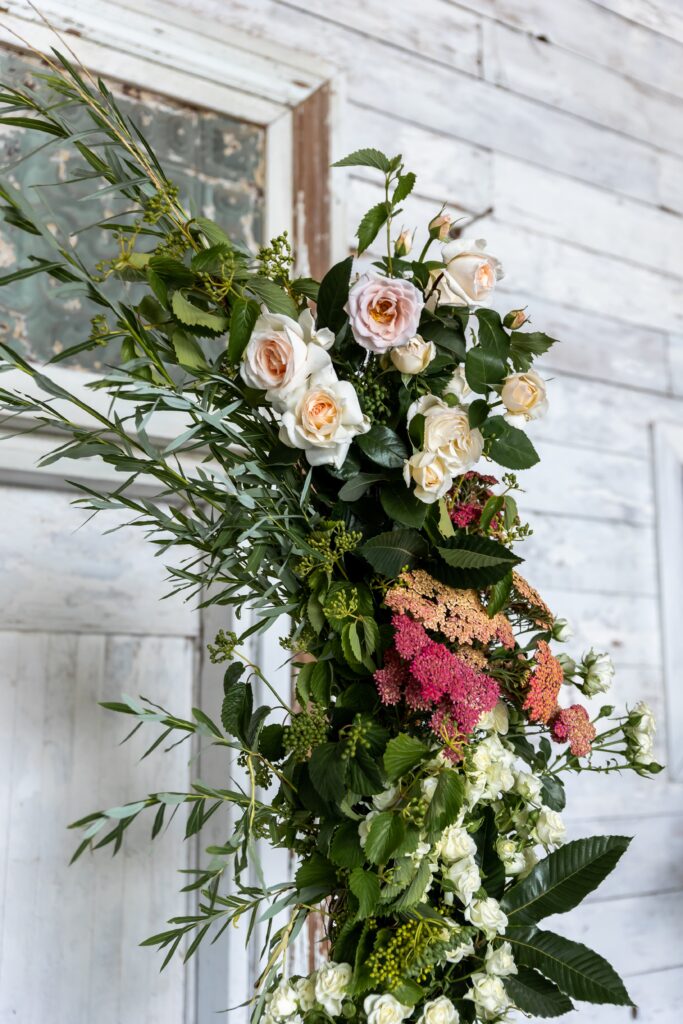
First, I attached tall 9-foot pieces of fresh-cut willow to the foundation. This is purple heirloom pussywillow, but any tall, graceful branches that don’t wilt under “pressure” would do. Remember that the foundational foliage of any arrangement sets the basic shape and character of the arrangement, so take time to set up the shape of your arbor now on this very first step.
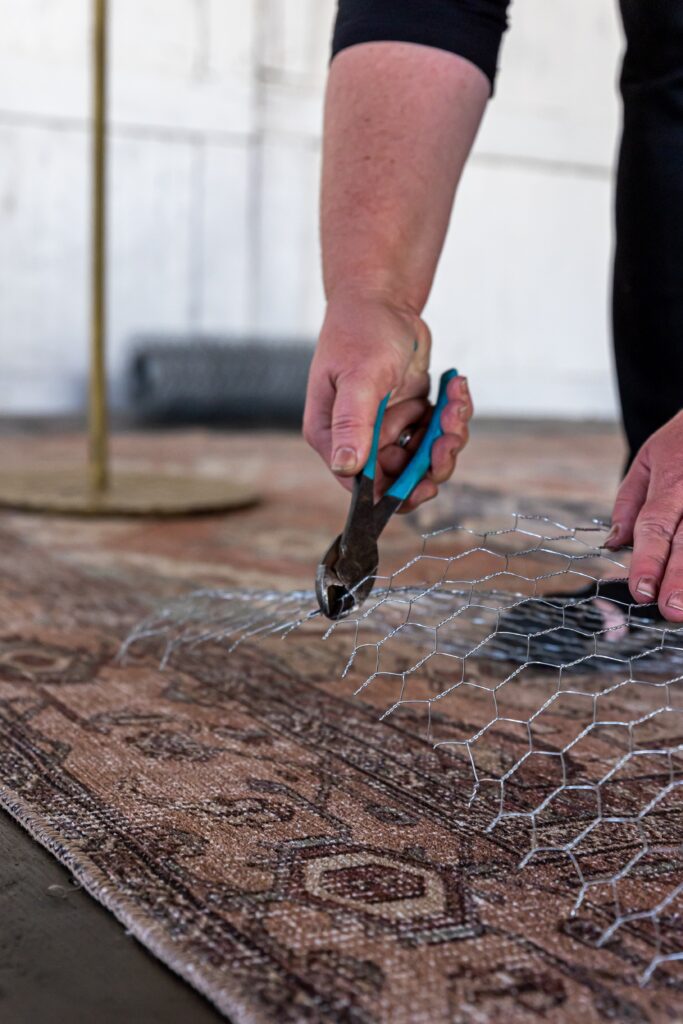
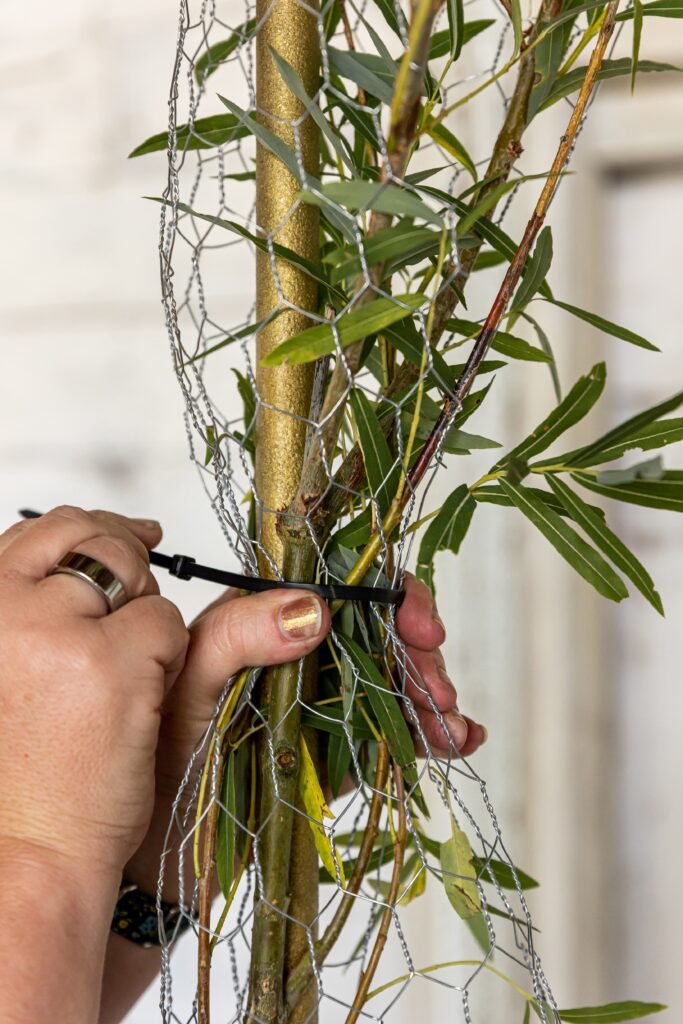
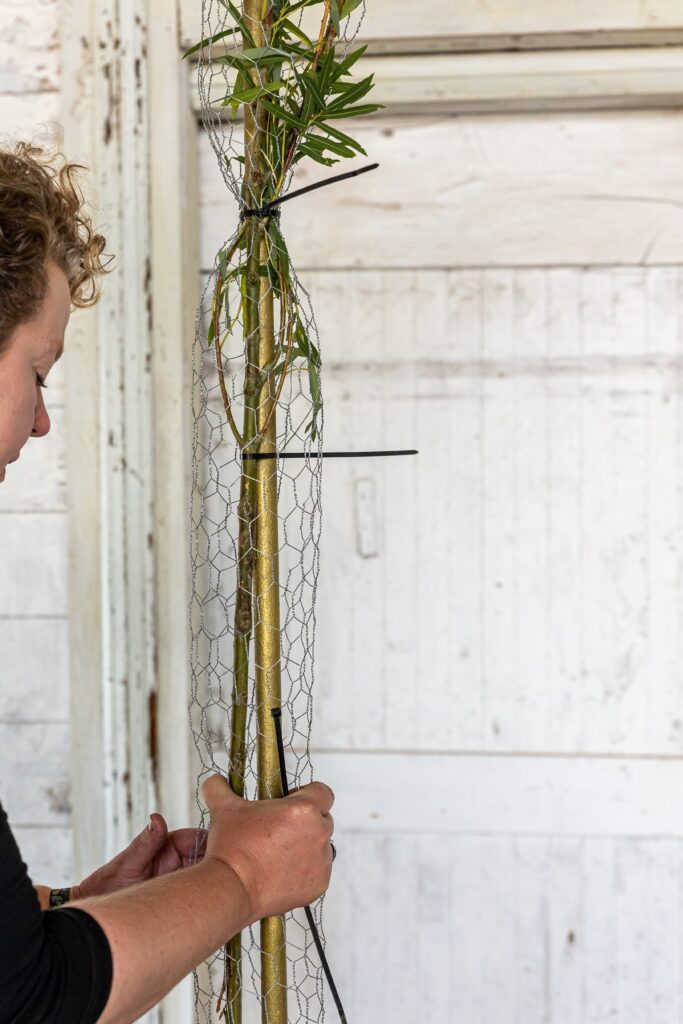
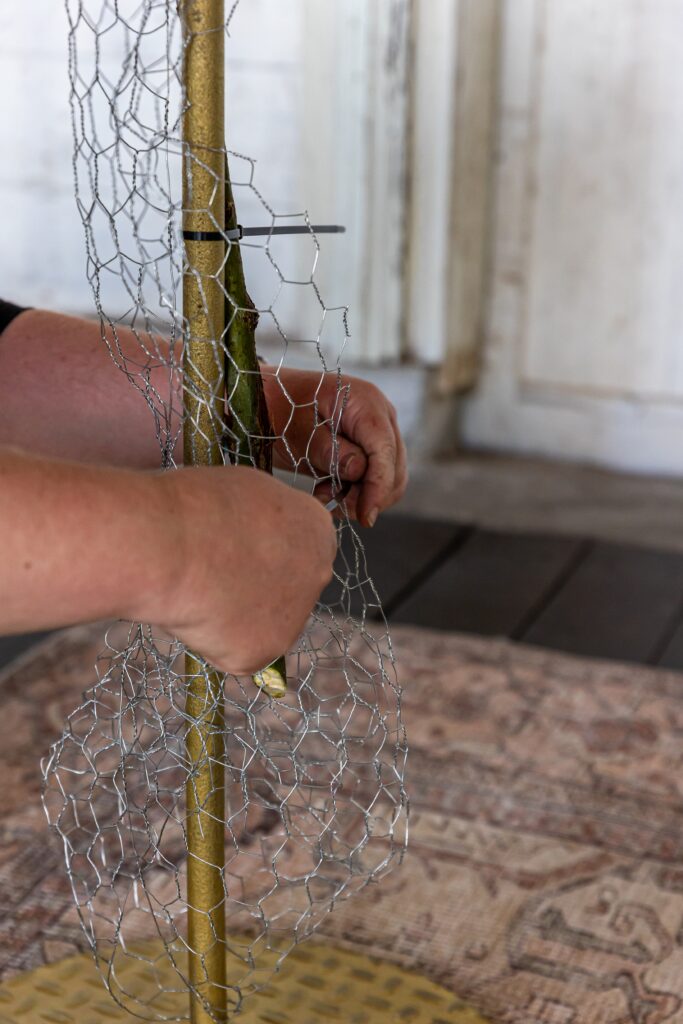
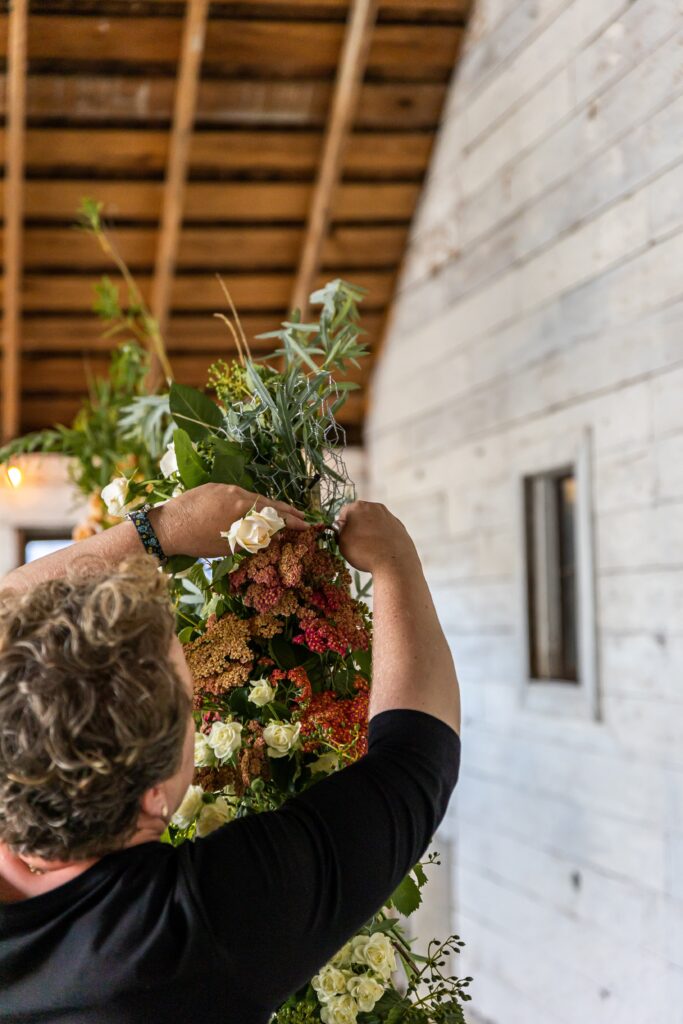
Then I cut 24″-wide chicken wire netting into strips about 18″ taller than the posts, crunched it in tight to echo the shape I wanted to create, and zip-tied it around the willow. The chicken wire extended about 12″ above the post structure, but not to the tips of the willow. This chicken wire creates a structure which you can tuck all of your other stems into.
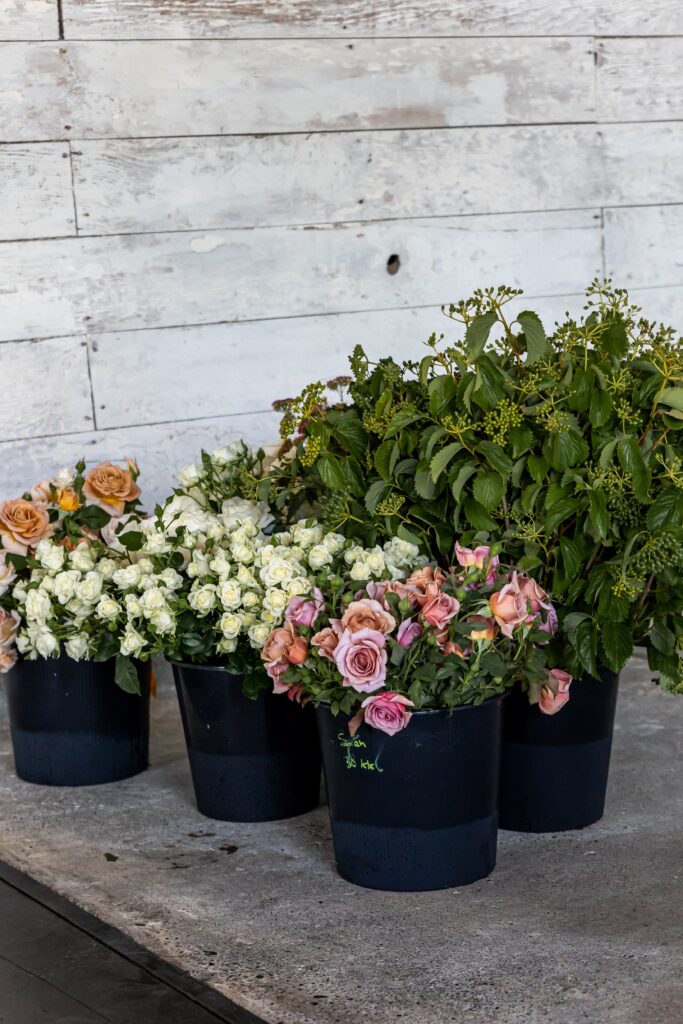

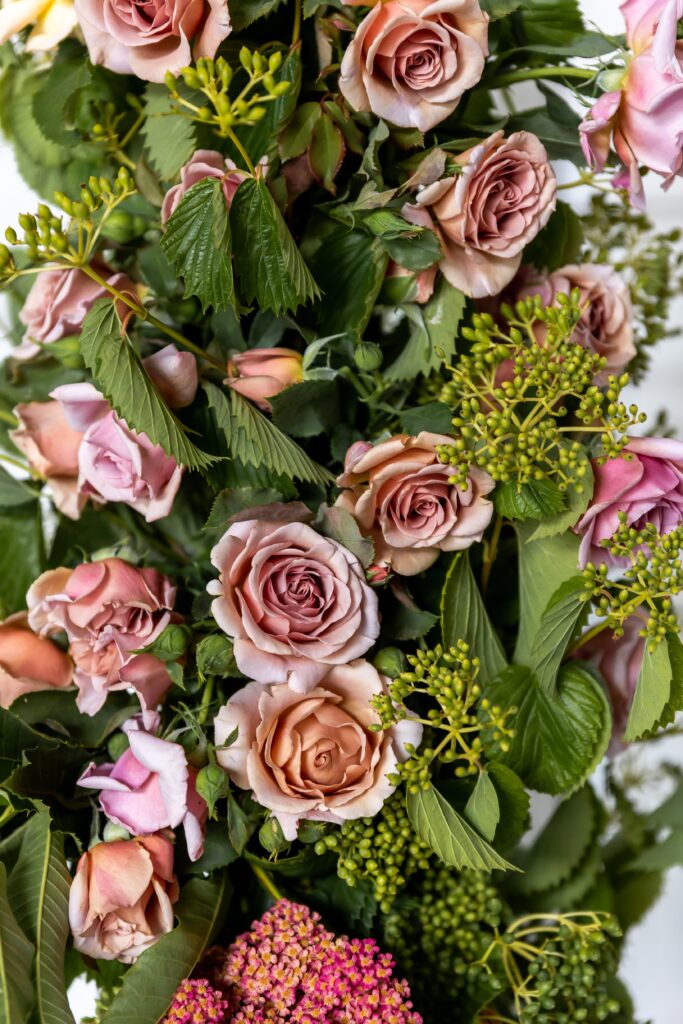
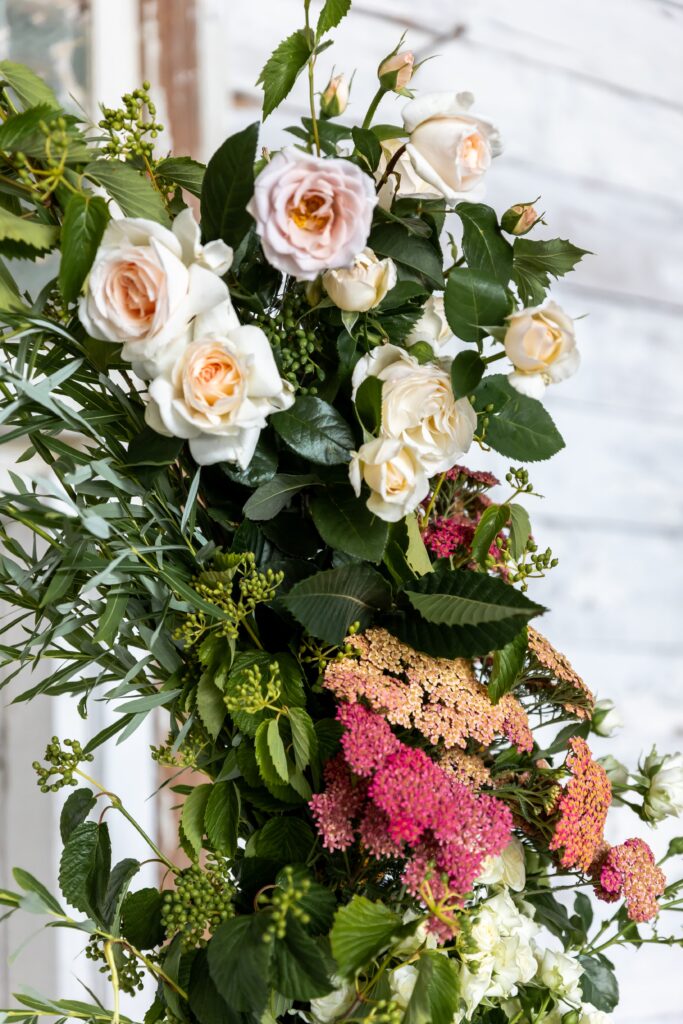
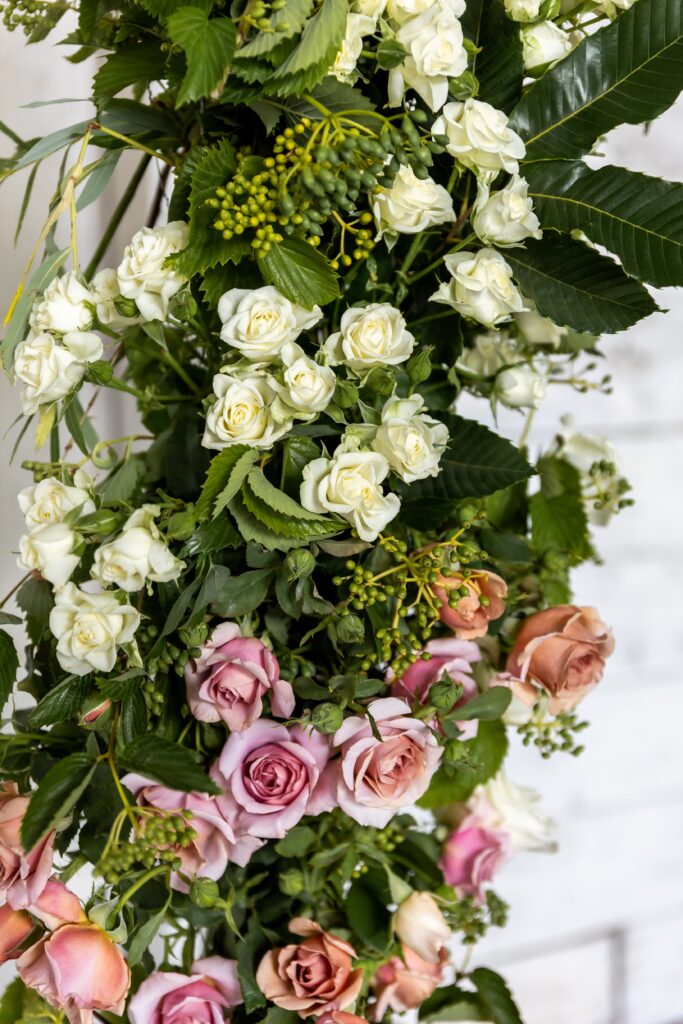
Speaking of stems… we used the willow, lot of viburnum with green berries, chestnut foliage, white spray roses, Koko Loko garden roses, Easy Spirit roses, Honey Dijon roses, Carding Mill Roses, “summer berries” yarrow, and a few sprigs of Italian ruscus to finish for this project, and it was such a delightful warm but fresh palette to work with!
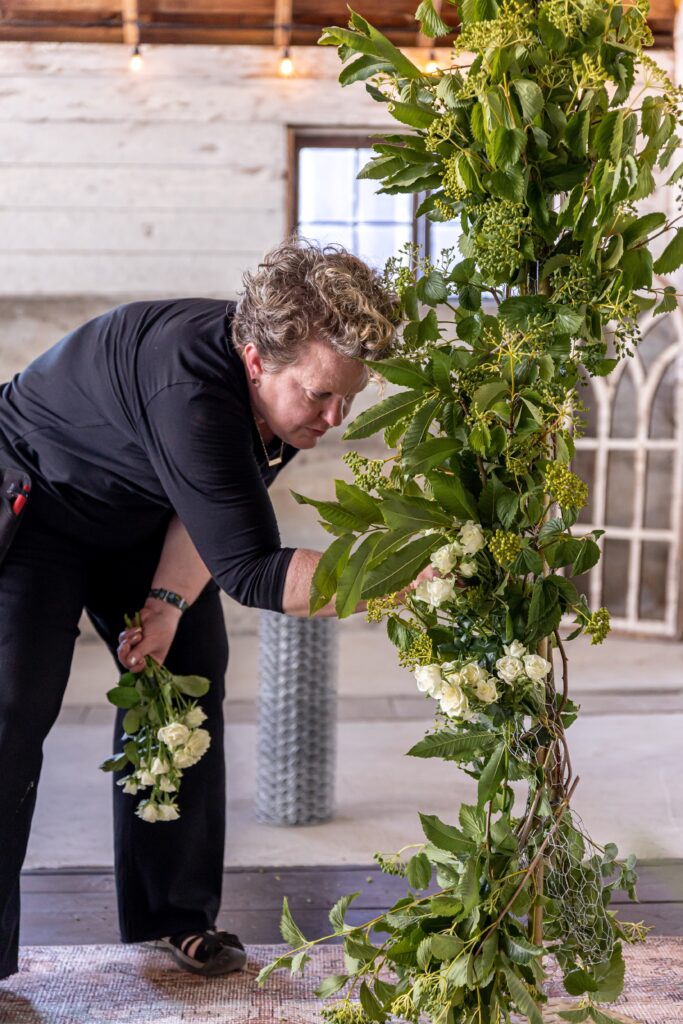


After carefully creating the structure, I added loads of Viburnum to the arbor, further creating the shape. I cut the 20″ viburnum stems in half, and tucked the shorter pieces in, leaving some gaps for the roses. I like to leave foliage all the way down the stem, because as you tuck it into the chicken wire structure, the back leaves act as “barbs,” like those on a fishing hook, keeping your stems from sliding around or falling out. I left a few longer pieces to make sure the arrangement didn’t feel too compact/tight but that it stayed loose and luscious. When I make another of these, I think I will be even more brave with winging the foliage out to make it look more full, but this size and shape did fit the scale of our venue, and I feel that the 150 stems of viburnum we used was a good amount.
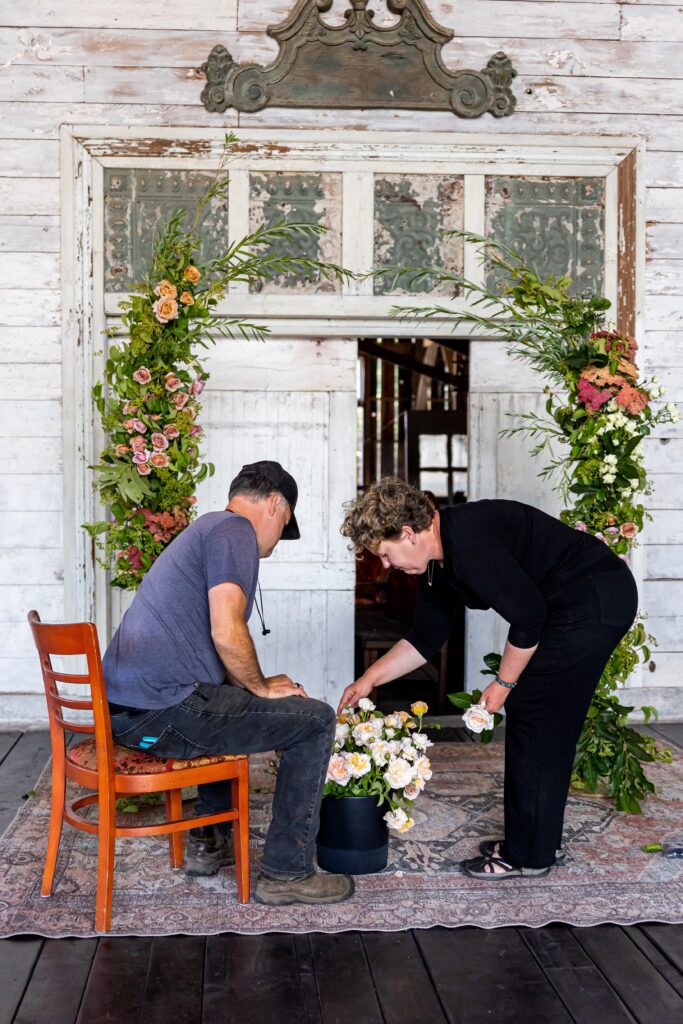
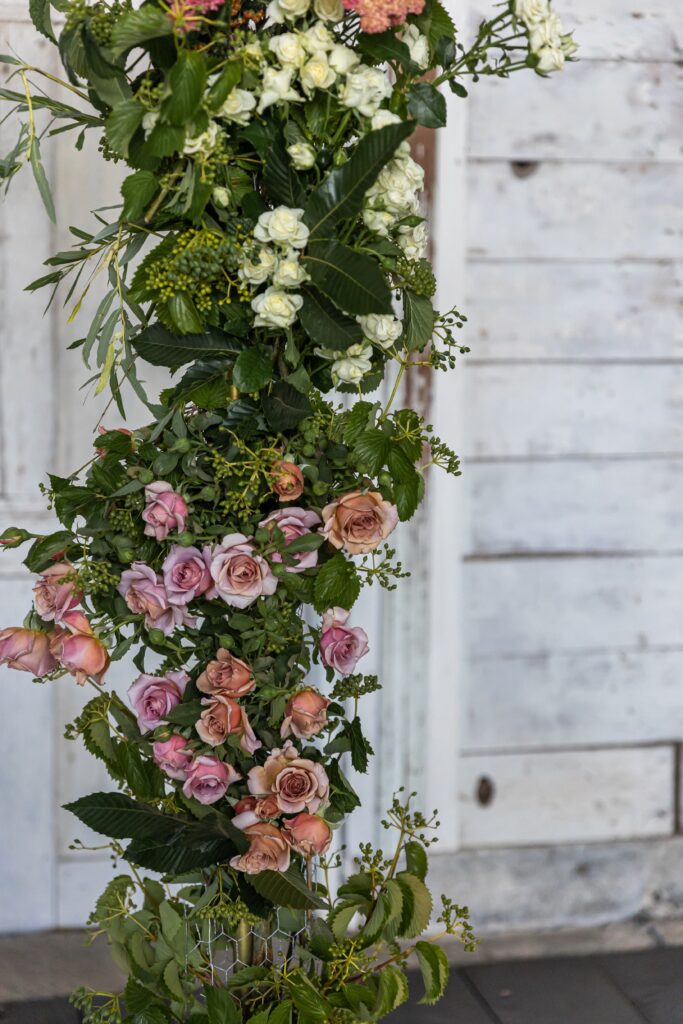
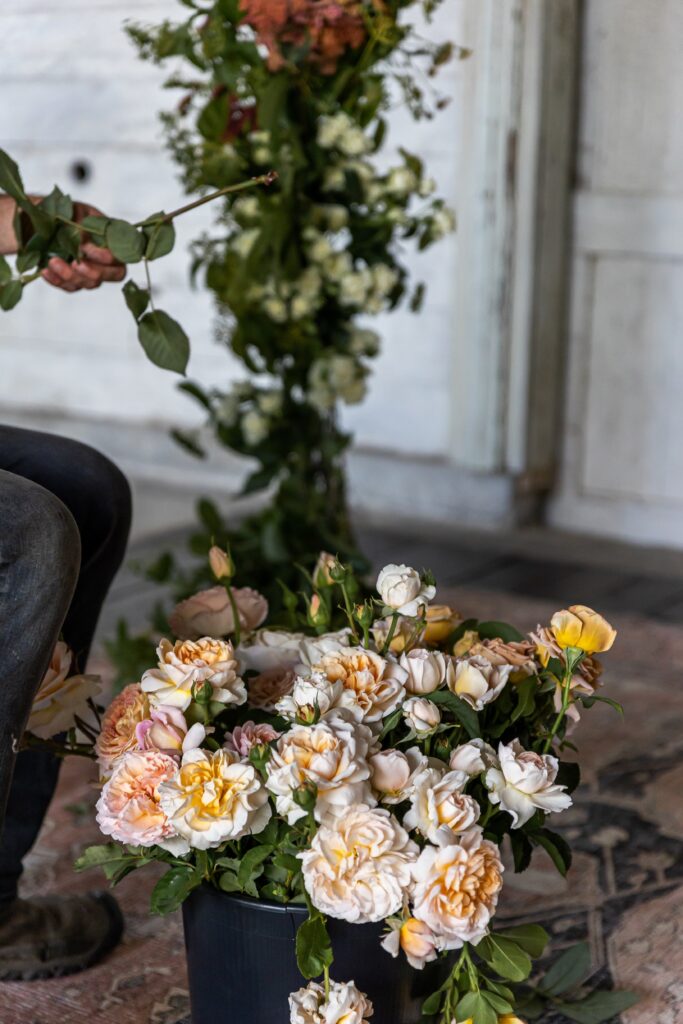
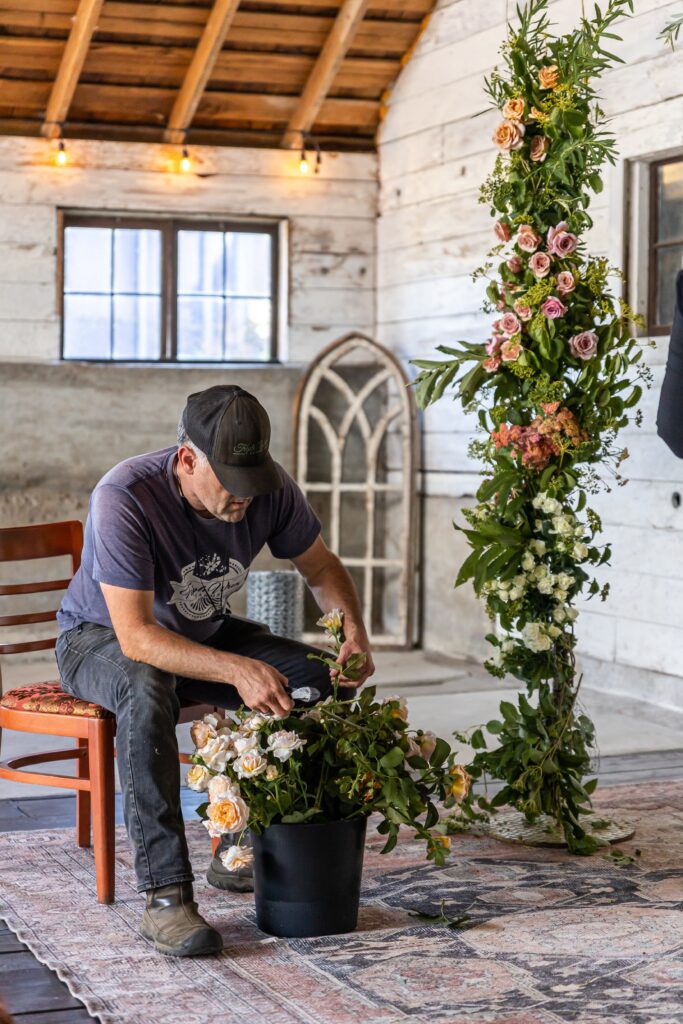
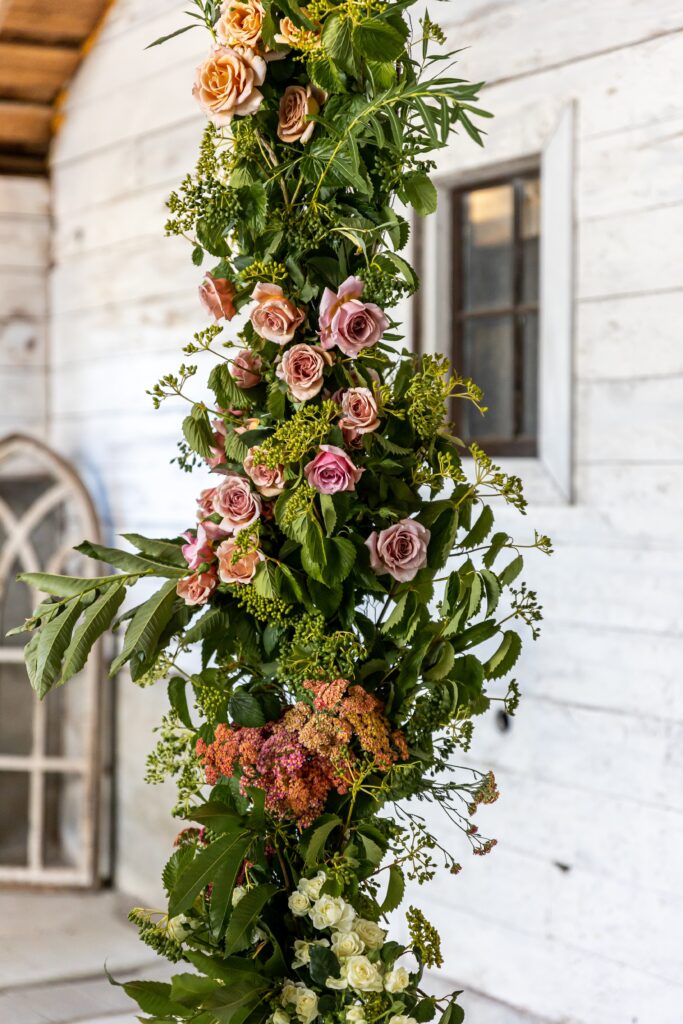
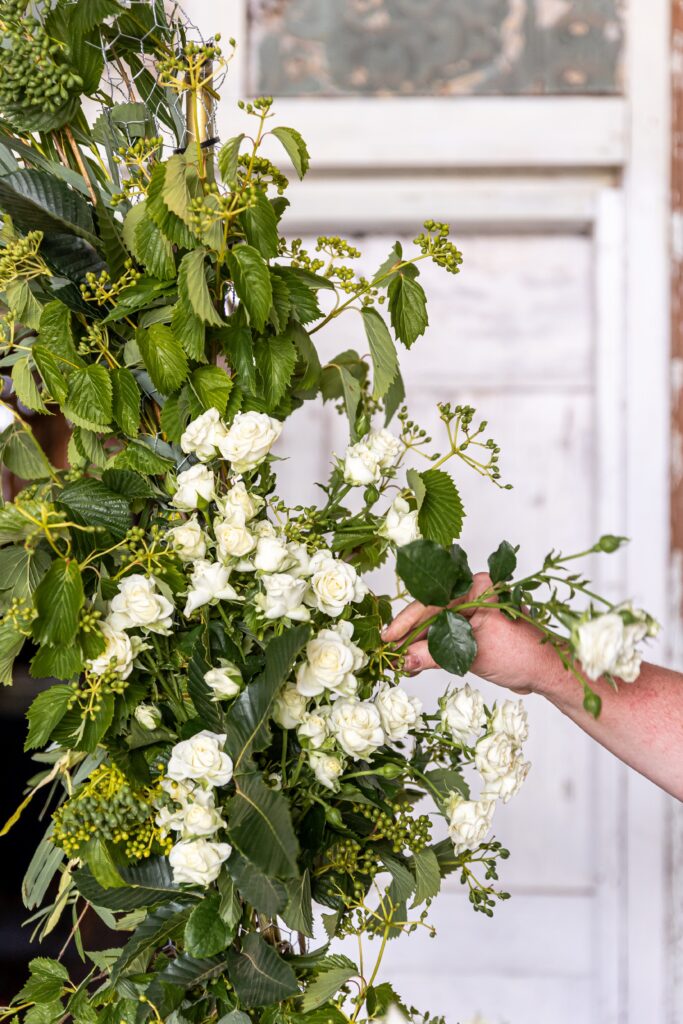
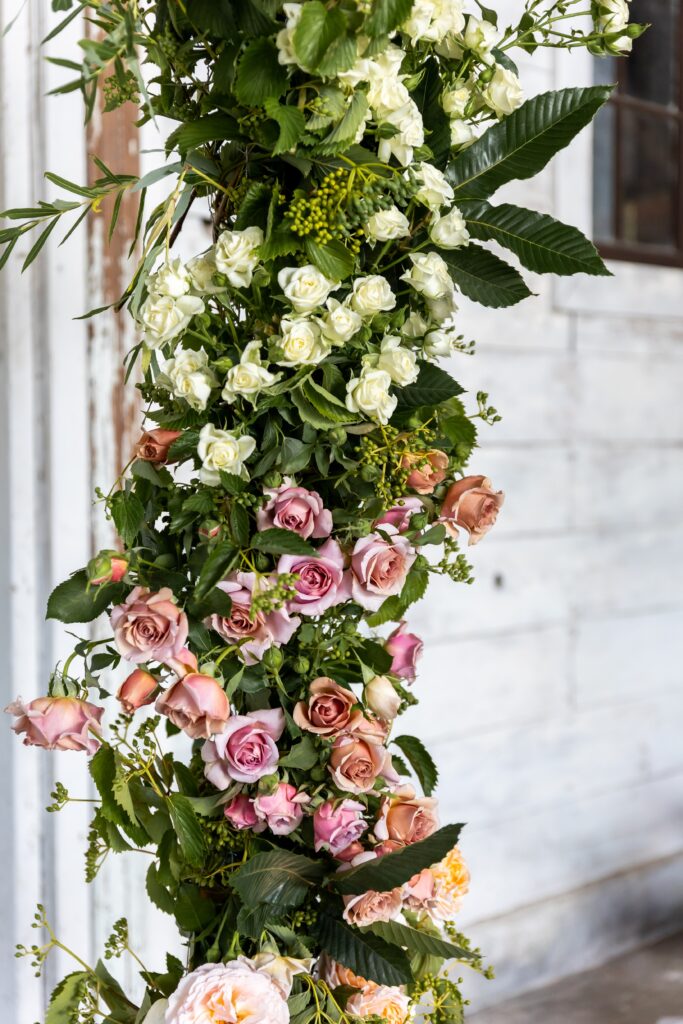
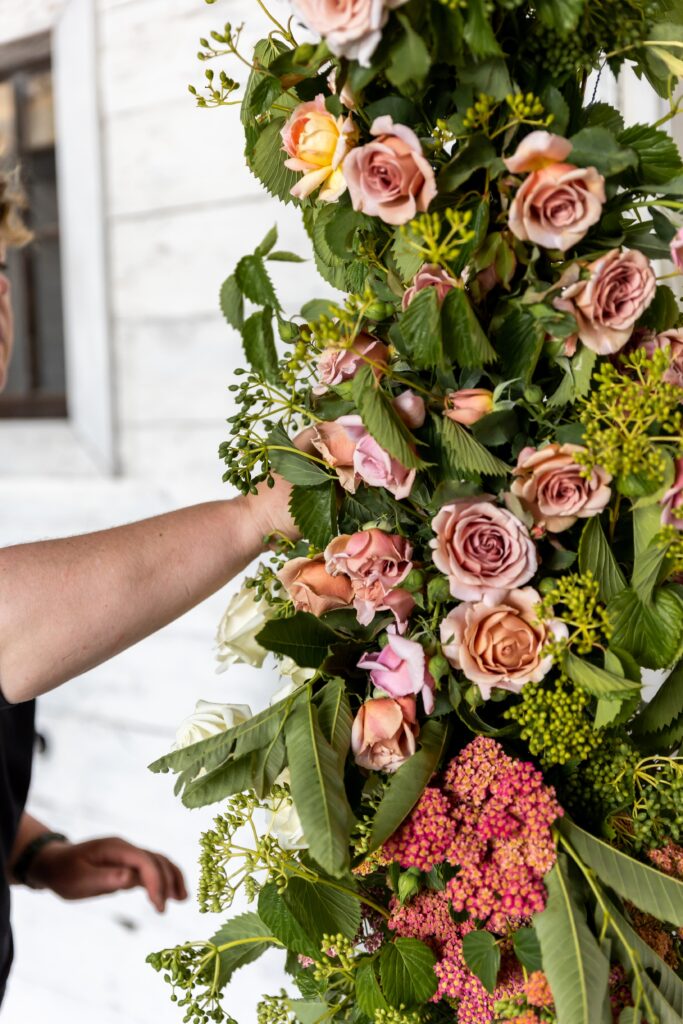
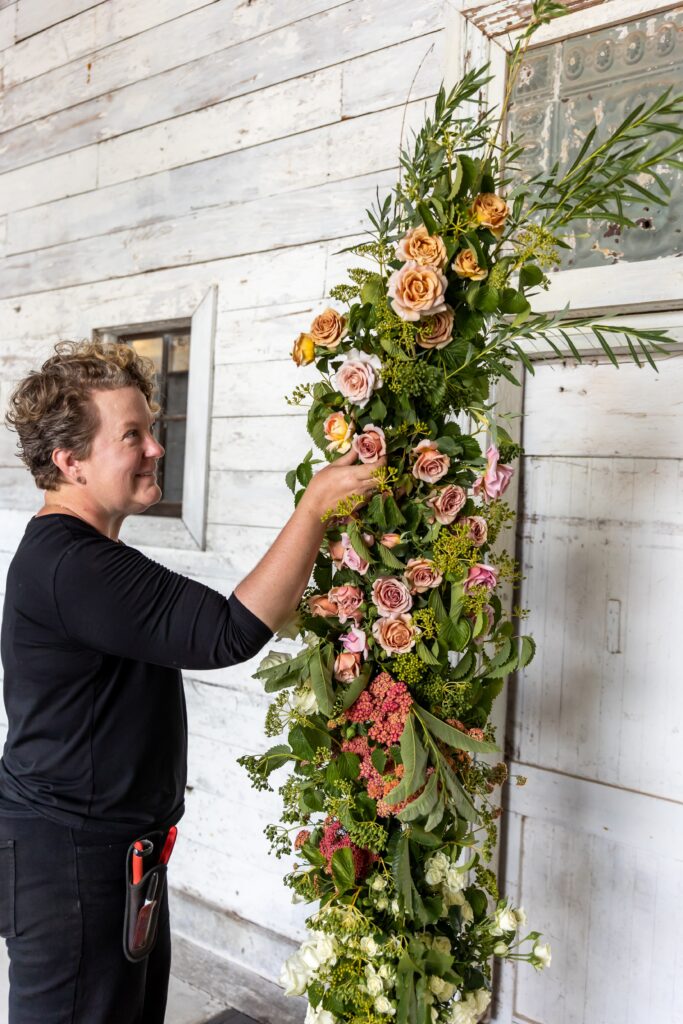
After the viburnum, I cut the roses down to 12″-18″ pieces and started tucking them in. You could do an all-over mixed look with your flowers for this kind of arbor, but I chose to keep the colors in zones to give them more impact. I did one rose variety at a time, making sure to keep the look natural and organic by not making the arbor perfectly symmetrical.
Steve helped me trim down the roses (leaving stems and foliage so they would stay where I put them!), and helped me look for blank/empty spots as the arbor came together. Although this project can easily be accomplished solo, it is super helpful to have someone looking it over from several feet back, as you will mostly be working close to the flowers. If you’re working solo, remember to keep perspective by stepping back often and looking at your arbor as a whole.
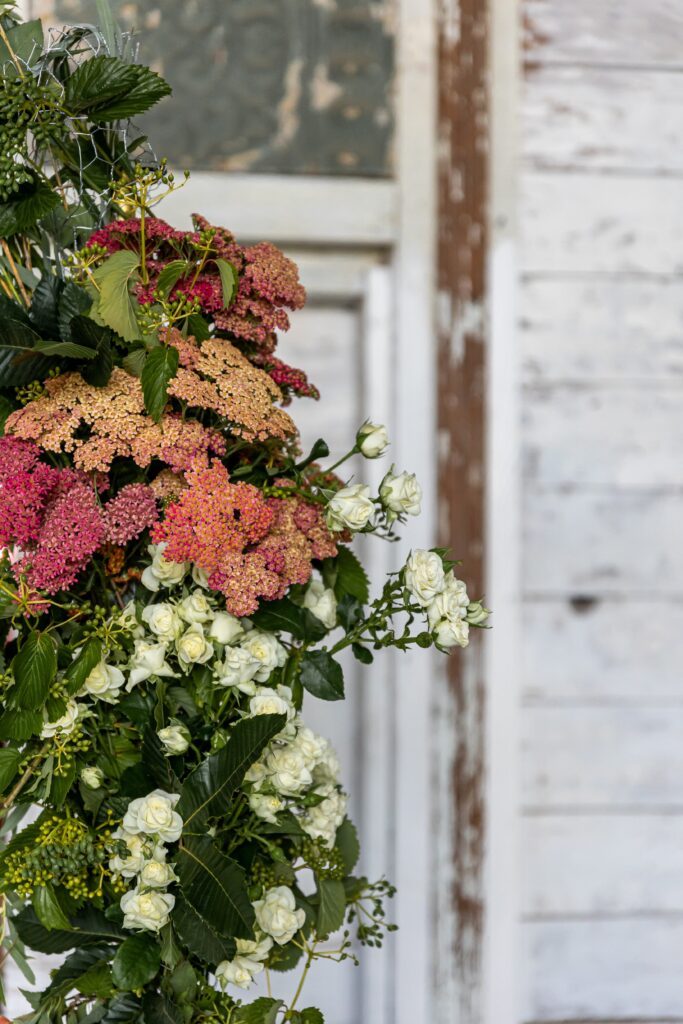

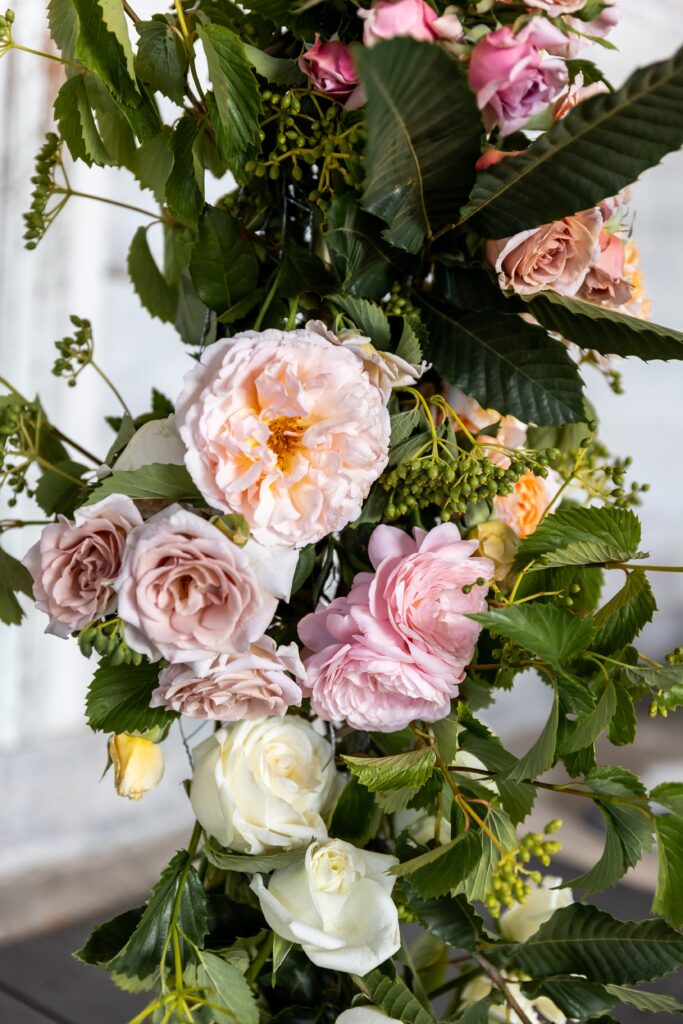
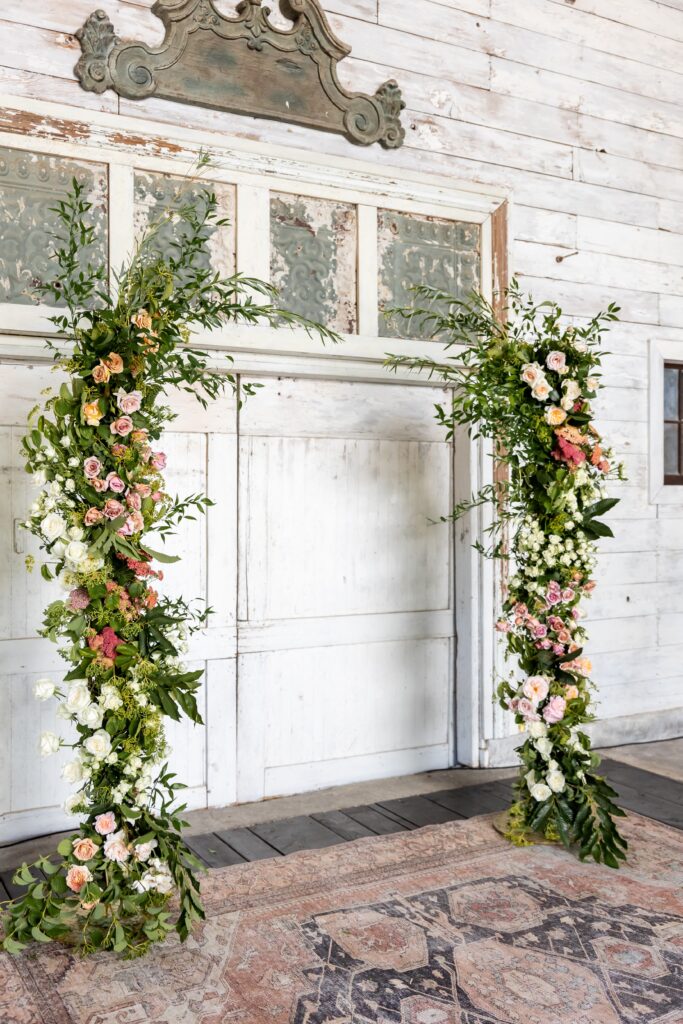
At the very end, I winged in a few sprigs of sturdy Italian ruscus to soften the edges, and was so happy with how it came out. The couple used it as the centerpiece of their ceremony, and then since it is so transportable, we whisked it over to the reception where the arbor flanked the sweetheart table during dinner. So versatile! This design would work just as well with any focal flower, and I plan to try it again with loads of dahlias later this summer at the farm.
If you create your own flower arbor based on this tutorial, please post it to social media and tag us @triplewrenfarms so we can see what beauty you create!